How to take food photos on your phone
You have set up your digital QR menu for the restaurant, filled in the names, prices, and descriptions of the dishes. Now you need to add photos, and you’re wondering how to photograph the food.
We recommend not skimping on costs and instead hiring a professional food photographer. By doing so, you will receive high-quality photos of your dishes that you can use in your digital menu and for marketing purposes (such as Instagram, contextual advertising, banners, printed materials, etc.). Professional photos help build guests confidence in your restaurant and tantalize their taste buds.
How to photograph food beautifully
If hiring a food photographer is not within your budget, consider taking the photos yourself. To do this, you will need prepared dishes from the menu, a smartphone with a camera, and six tips. However, beware: your food might look so good in the photo that you’ll start to wonder if it’s even worth eating or if it’s better off displayed in a modern art museum!
Trick #1 - Sunny day
Natural light helps to preserve the true colors and depth of dishes in photographs. On sunny days, the photos turn out richer and more interesting. Experiment with the interplay of light and shadows, and be amazed at how beautifully your phone can capture photos. If the light is too bright, you can cover the window with a light cloth or paper.

Trick #2 - Photophone
Go to an art store and purchase colored A0 paper sheets to create a photo backdrop. Opt for monochrome colors, such as light shades of beige or gray for better dish presentation.
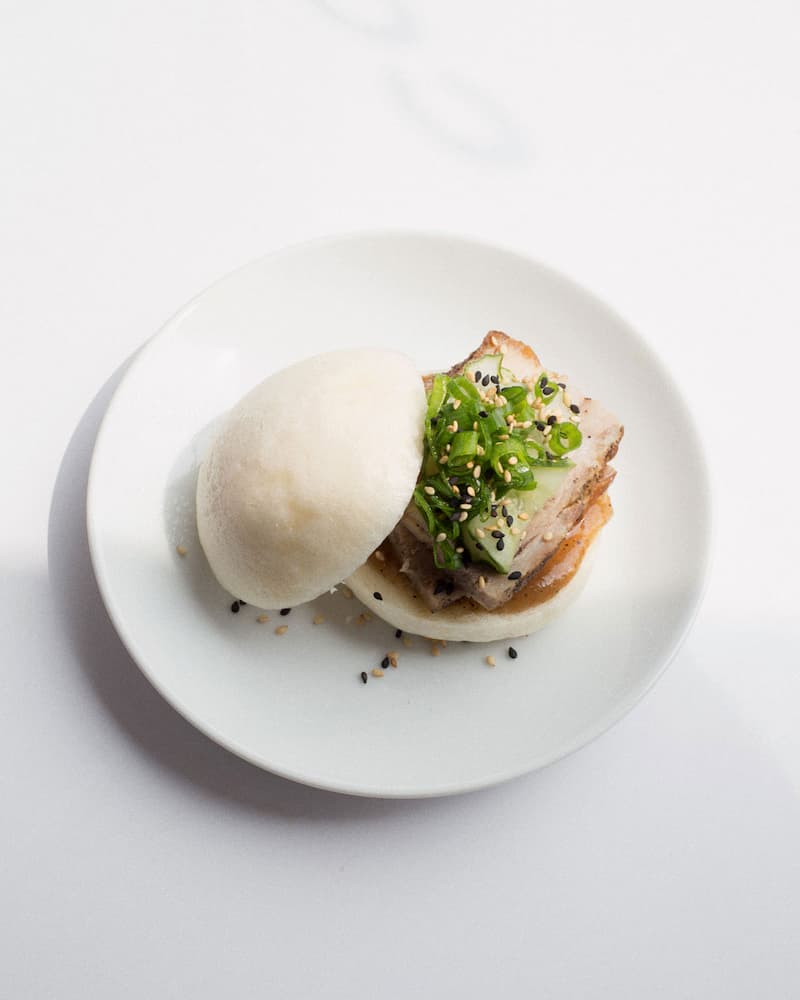
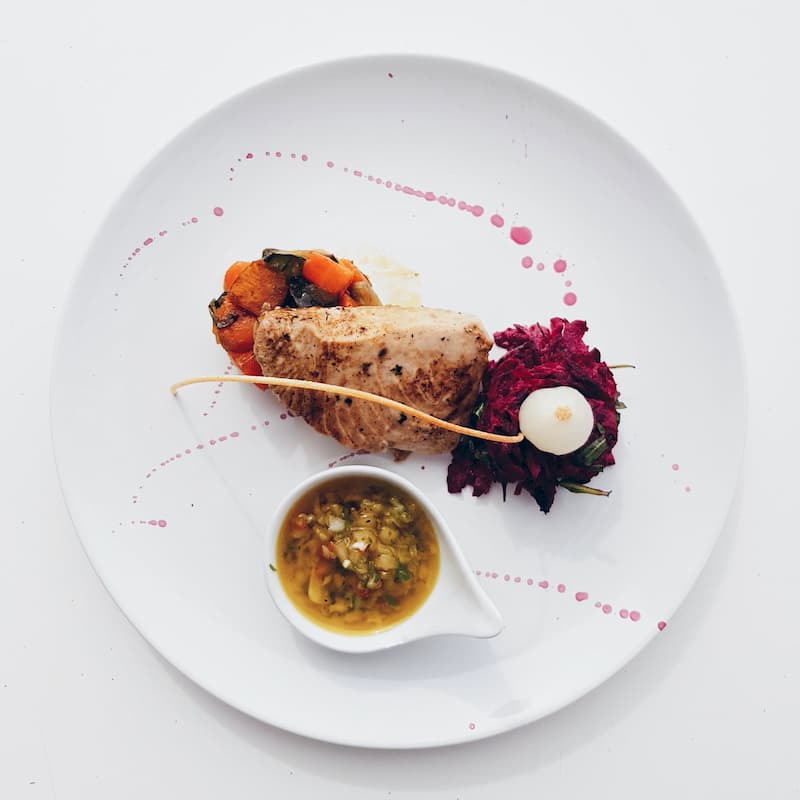
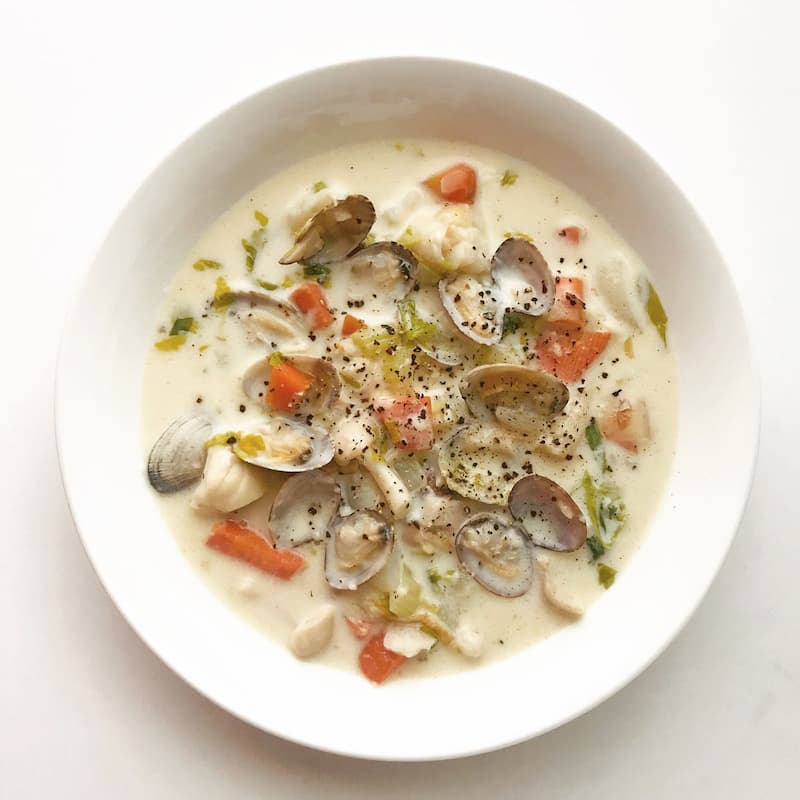
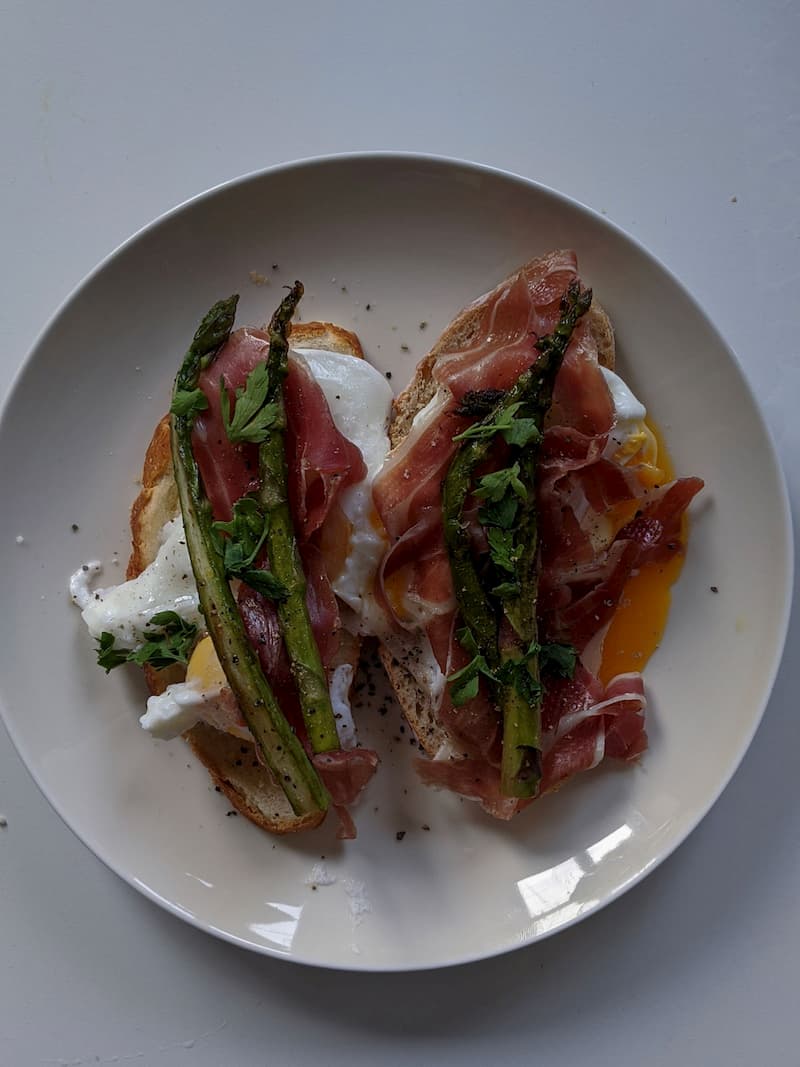
Trick #3 - Angle
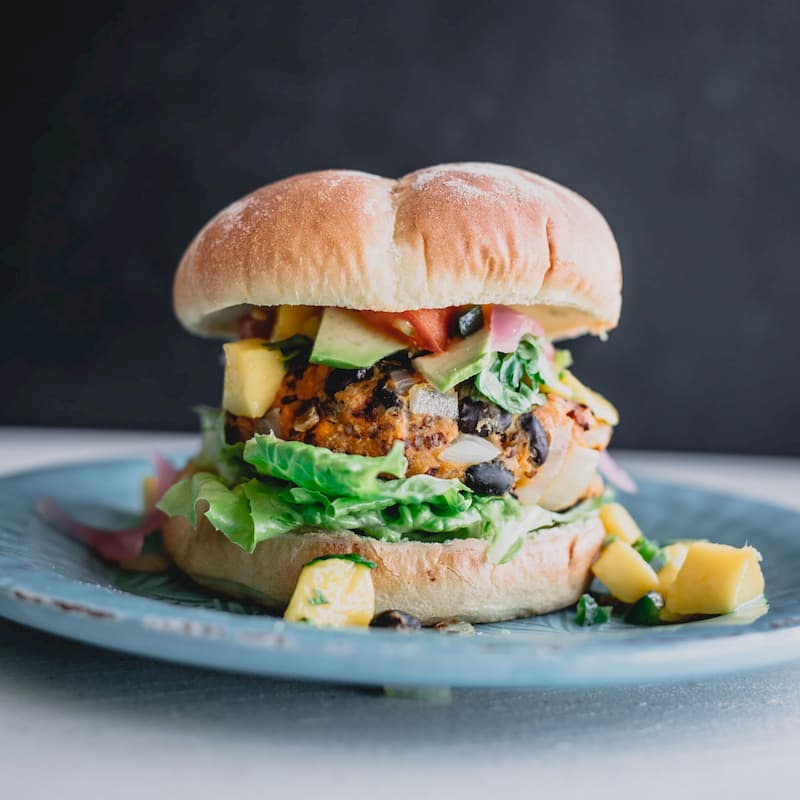
When taking photos of dishes for the menu, always shoot from either above or from the side. The top view should display the presentation of the dish, while the side view should reveal the contents. By sticking to these angles, you can ensure a consistent style throughout the menu. You can decide on the angle for each dish based on what you want to emphasize – whether it’s the presentation of a steak or the height of a burger.
Trick #4 - Minimalism
Focus on the dish in the frame for now. You can learn how to enhance your photos with twigs, seeds, and flowers as you continue to improve your food photography skills. Keep it simple at this stage and concentrate on capturing just one dish in the background.

Trick #5 - Correction
Download the Snapseed or Lightroom app on your phone. Use them to edit color, light, perspective, adjust white balance and crop photos evenly for the menu. Avoid excessive correction and keep the dish natural and recognizable.

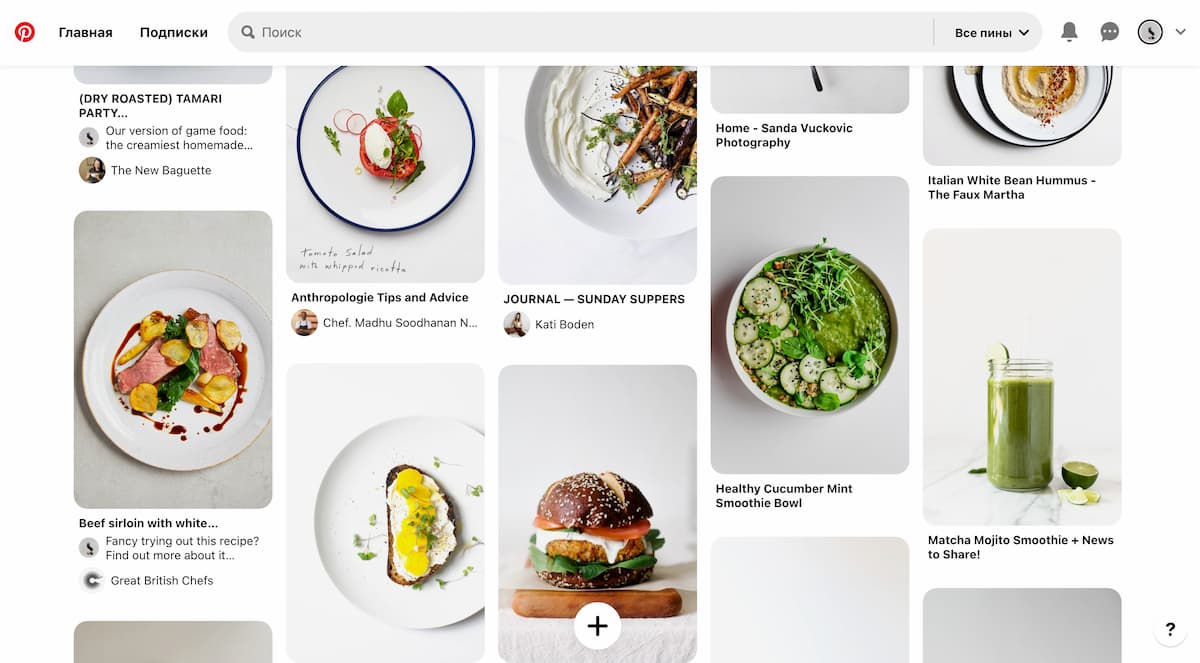
Trick #6 - Inspiration
Go to Pinterest and select food photos you like. Feeling inspired? Use your smartphone and the first 5 tricks to recreate the result. You can do it!
These simple tips will help you capture food photos correctly. If you found this article helpful and would like to receive more useful tips and recommendations from us in the future, please subscribe to the Platto Instagram account.
Guests want to see photos of dishes
According to the study, 84% of guests prefer to view photos of dishes before visiting the restaurant or placing an order. They search for photos on the restaurant’s website and Instagram account.
Platto QR menu enables you to upload multiple photos of each dish to showcase it beautifully. Furthermore, a dedicated page with comprehensive metadata is created for each dish to enhance its visibility on search engines. You can easily share a specific dish’s page on social networks or messaging apps.
If your restaurant does not have an online menu yet, sign up and create one to boost sales.